
Most hearing aids fail early because of small habits, not big repairs. Wax, moisture, and skipped cleaning cause more problems than anything else. At Ear to Hear, our licensed specialists meet patients every week whose devices need nothing more than a cleaning routine to sound clear again. Daily care is a proven way to extend device life, and this guide walks you through every step.
Whether you wear these devices for the first time or have worn them for years, this hearing aid maintenance guide shows what to do each day, week, and month. Our team uses these same steps with patients across our 12 centers in three states.
Key Takeaways
- A short daily routine of wiping, brushing, and airing out keeps sound clear and prevents most repairs.
- Replace wax guards on a schedule and keep the microphone port free of debris.
- Keep devices away from water, hairspray, and perfume.
- A drying container overnight is safe, dependable protection against moisture damage.
- Weekly deep cleaning and monthly care checks catch small problems early.
- Well maintained devices often last 5 to 7 years.
Why Hearing Aid Maintenance Matters
A hearing aid sits in a warm, humid ear all day. Ear wax, skin oils, and moisture build up on the casing, microphone port, receiver, and dome. Left alone, that buildup blocks sound and eventually damages the receiver.
Steady hearing aid maintenance is also a proven way to protect your investment. Devices that receive daily attention often last 5 to 7 years or longer, while devices that never get cleaned often need a repair within the first two years. The right hearing aids deserve a routine, and the same holds true for the newest technology, from receiver in canal styles to the rechargeable models on our latest hearing aids page.
There is a relief factor too. A device that sounds clear and dependable makes conversation easier. Our experienced specialists hear it constantly: once hearing care becomes habit, devices fade into the background of daily life.
The Daily Care Routine
Do these steps every night, in order, in about five minutes.
- Wash and dry your hands first, so you do not transfer lotion or dirt onto the casing.
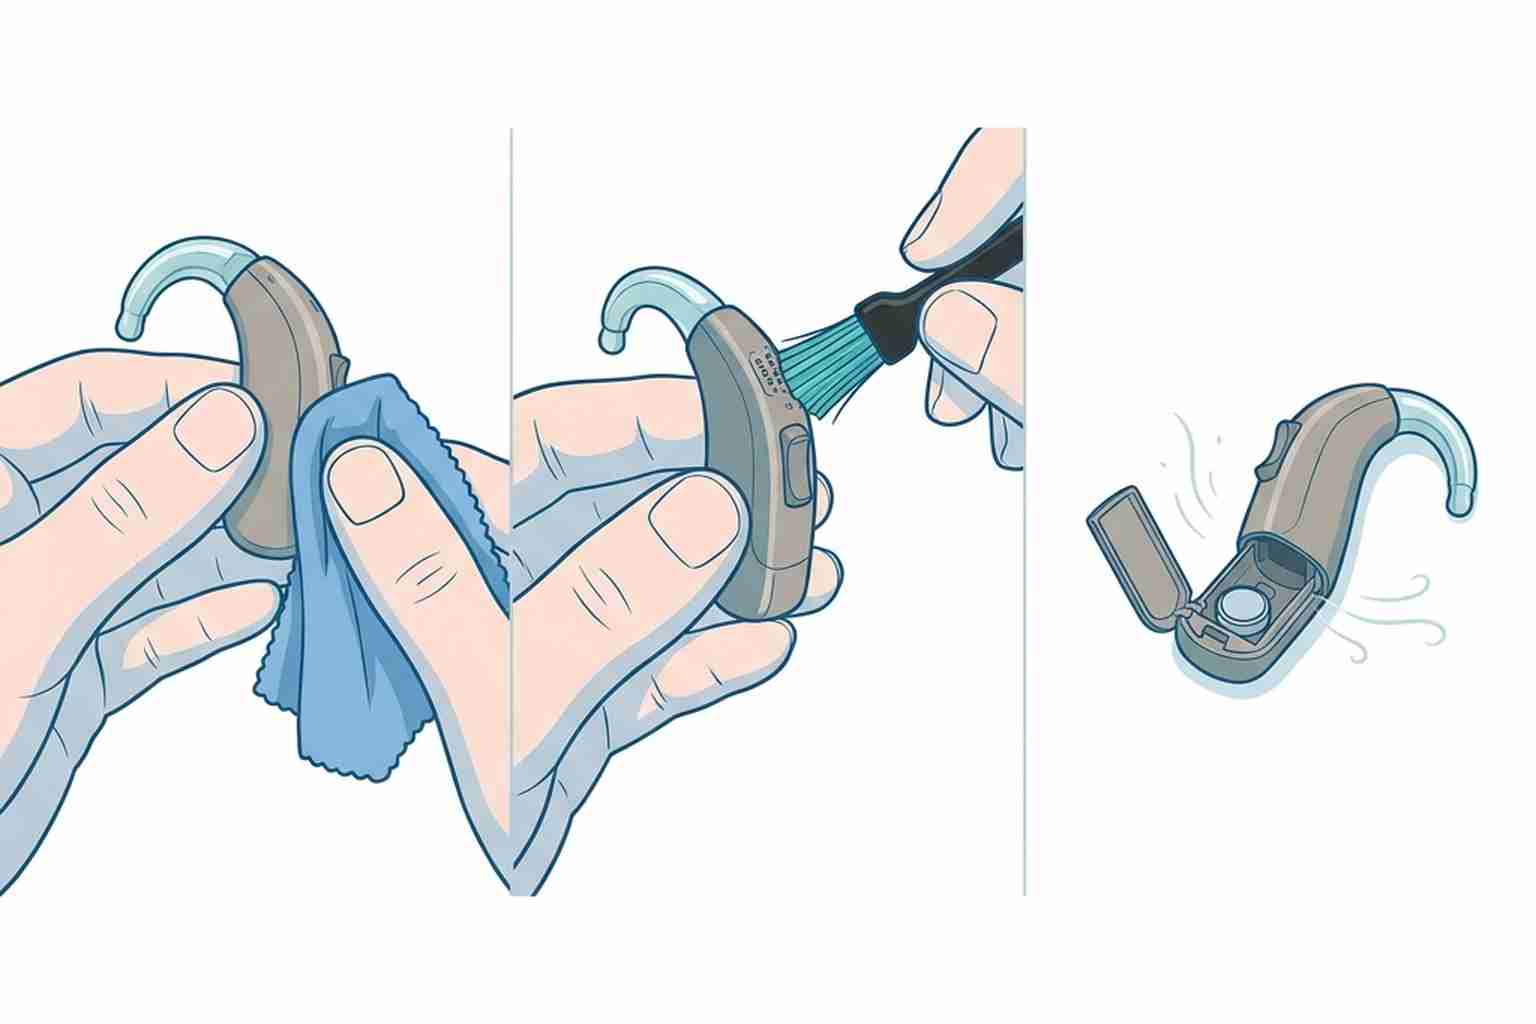
- Turn the device off and open the battery door to air out overnight.
- Wipe down the outer casing with a dry soft cloth or microfiber washcloth to remove skin oils and residue.
- Gently brush the microphone port and receiver dome with the cleaning brush to remove any wax and debris.
- Inspect the earmold or dome for ear wax; if buildup remains, use a soft brush or aid wipe.
- Check that the tubing on behind the ear styles is moisture free.
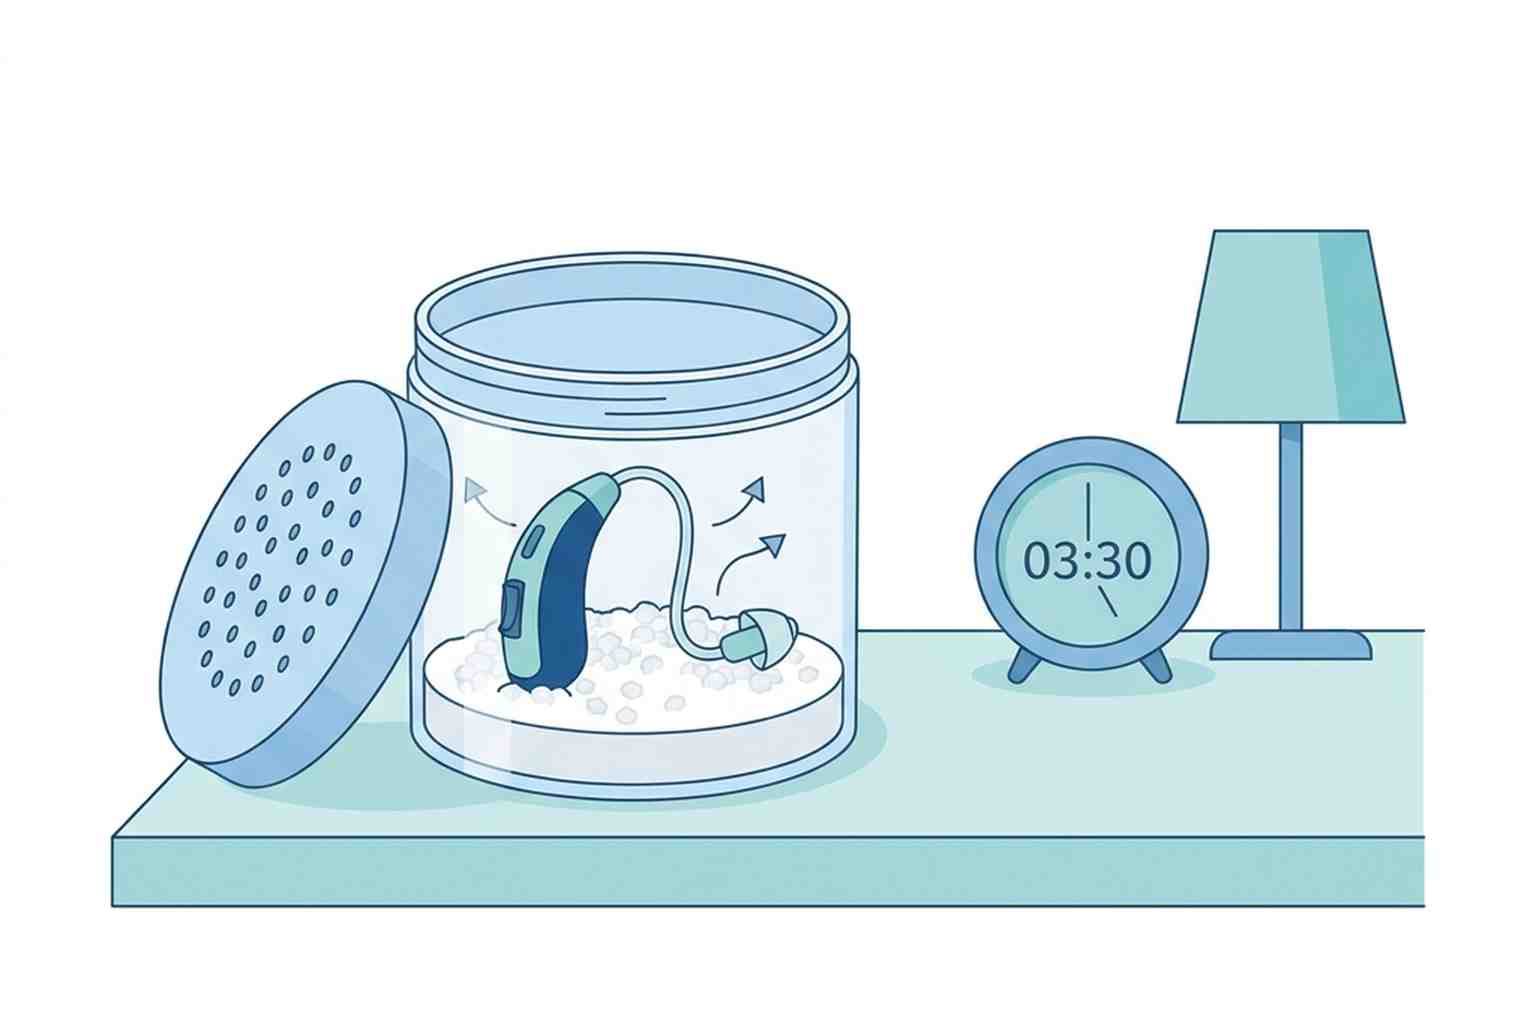
- Place the device in a drying container overnight.
Never use a dripping wet cloth or any chemical cleaners on the casing. Keep a second soft cloth handy for a morning quick check.
Weekly Deep Cleaning
Once a week, deep cleaning hearing aids takes 15 minutes:
- Remove any wax from vents and openings with a soft brush.
- Clean the battery contacts with a dry cloth so power flows without interruption.
- Examine the tubing for cracks or moisture.
- Run a listening check for weak or distorted sound.
- Replace the wax guard if it looks dirty, even if the monthly schedule says it is not due.
- Let parts dry before reconnecting the battery.
Our team shows every patient this weekly routine at the first fitting, and we invite you back for a hands on refresher at any of our locations.
Monthly Maintenance Tasks
A few minutes a month keeps problems away:
- Check the wax guard and replace it on schedule, often every one to two months.
- Inspect tubing and ask us for replacements if it feels rigid or cloudy.
- Clean battery contacts with a dry soft cloth.
- Test batteries with a tester before assuming the device is broken.
- Look over the casing for cracks and confirm the microphone cover is intact.
If anything looks wrong, schedule a professional cleaning instead of forcing a fix.
Hearing Aid Cleaning Tools You Need
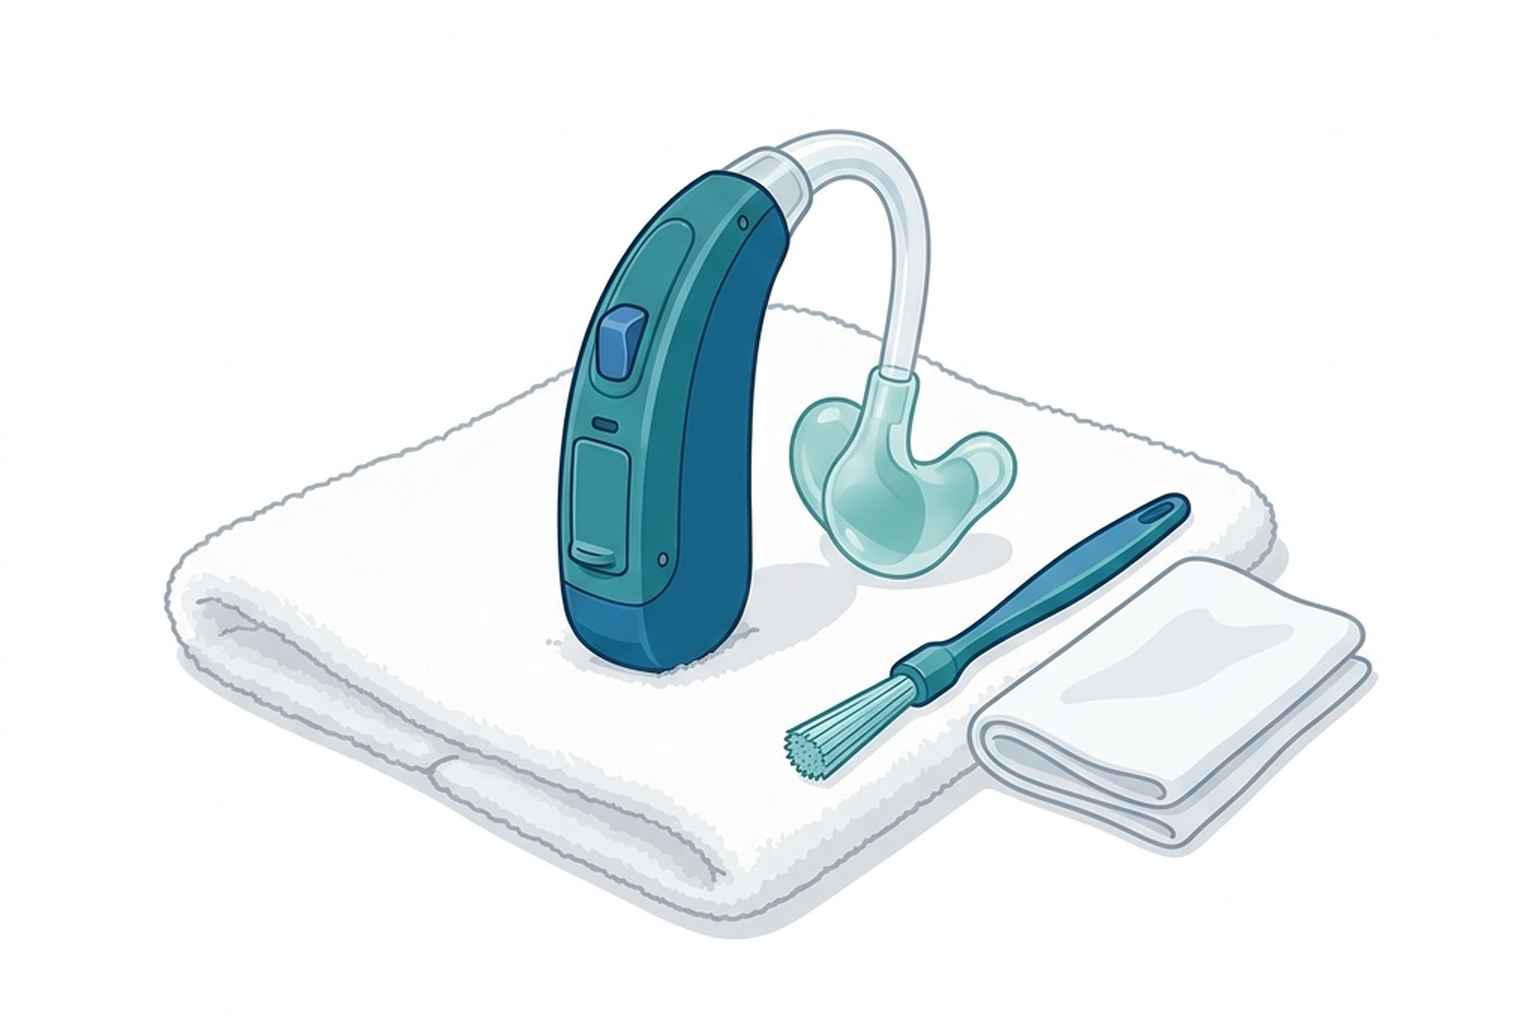
You do not need much, but quality counts. Keep this small kit where you take the devices off at night:
- A dry soft cloth or microfiber washcloth for daily wiping.
- A cleaning brush with soft bristles for the microphone port and receiver.
- A wax pick or loop for small openings.
- Aid wipes for surfaces needing more than a dry wipe down.
- A drying container for aid storage overnight.
- A battery tester and fresh batteries.
Cotton swabs push debris deeper and paper towels scratch the outer casing, so avoid household items. Our team covers brand specific tool guidance for every model we fit, including the full Phonak line.
Cleaning Different Parts of the Device
Cleaning the Microphone Port
The microphone port is the small opening at the top of the device, and wax or dust here causes muffled sound first. Hold the device with the microphone facing down so debris falls out rather than in, then gently brush the opening. Follow with an aid wipe and finish with a dry cloth.
Cleaning the Receiver and Dome
The receiver sits closest to the ear canal, so ear wax collects there fastest. Remove the dome if your model allows it, then brush away buildup with the soft brush. Clean the small holes in the dome, then wipe the receiver tube. Never poke pins into the receiver opening; that pierces delicate parts.
Wiping Down the Casing
Use a dry, lint free cloth over the entire outer casing. A slightly damp microfiber washcloth is safe for stubborn residue if liquid never touches an opening or the battery compartment. Dry with a soft cloth right away and leave the battery door open until every surface is dry.
Moisture, Storage, and Safe Handling
Safe Overnight Storage
Aid storage is simple: dry container, battery door open, away from heat. Bathrooms are the worst room for aid storage because steam reaches every seam overnight. A dehumidifier drying case is dependable insurance, and we recommend one to every patient.
What to Do Around Water
Take devices out before showering, swimming, or using hairspray and perfume. Spray first, wait, then insert. Rain is survivable if you wipe the casing dry, but a drop into the sink is not. Water damage is the most preventable repair we see, so safe, professional cleaning after any soaking is the right call.
Troubleshooting Hearing Problems at Home
Many common issues have easy home fixes. Weak or absent sound. Check the battery first, then check that the wax guard, microphone port, and tubing are not blocked. Brush gently and retest. Whistling or feedback. This often points to a poor fit or ear wax in the canal; remove and reinsert the device, and if whistling continues, let us look inside. Intermittent cuts. Weak batteries or corroded contacts are usually the cause, so clean the contacts with a dry cloth and insert fresh batteries.
If sound stays distorted after these checks, stop troubleshooting hearing aids on your own and let our trusted specialists inspect the device. Keep the manuals for hearing aids nearby, since they list model specific fixes, and steady cleaning prevents most of these issues from starting.
When to See a Professional for Hearing Aid Repair
Some jobs belong in the clinic. Bring your devices to us when sound stays weak after cleaning and a fresh battery, when tubing cracks or the earmold breaks, when the device got soaked, or when feedback returns no matter what you try at home. Safe, professional cleaning every six months keeps deep wax out of the receiver, and each visit includes a hearing check to confirm your settings still fit your ears. If it has been a while since your last evaluation, our schedule appointment page takes about a minute to use, and reliable service is available at every center.
Building Habits That Make Care Easy
Habits beat memory. Attach cleaning to something you already do each night, like brushing your teeth. Keep the cleaning tools in one spot, store devices in the same dry container, and set a phone reminder for wax guard replacement and monthly checks. Good hearing aid maintenance takes less willpower than people expect; it mostly takes a pattern.
If you are still deciding whether hearing aids are right for you, start with our free online hearing test from home, or schedule a hearing test. Our experienced team will help you hear clear for years.
Frequently Asked Questions
Hold the device with openings facing down, then gently brush the microphone port, receiver, and dome with a soft cleaning brush to remove wax. Use a wax pick for stubborn buildup and finish with a dry soft cloth.
Most wearers change the wax guard every one to two months, but swap it sooner if sound weakens or you produce a lot of ear wax.
Our team recommends wearing them during all waking hours, roughly 12 to 16 hours a day, except around water or sprays. Regular full day wear helps your brain adjust and keeps the hearing benefit strong.
Open the battery door, place each device in a drying container, and keep them away from bathroom steam. Overnight moisture control plus daily hearing aid maintenance is dependable protection for every component.
References
- National Council on Aging. How to Clean Your Hearing Aids. https://www.ncoa.org/advisers/hearing-aids/how-to-clean-hearing-aids
- Starkey. Hearing Aid Use and Care. https://www.starkey.com/hearing-aids/technology/hearing-aid-care-and-maintenance
- TruHearing. Clean and Care for Your Hearing Aids. https://www.truhearing.com/articles/hearing-aid-clean-and-care
- American Speech-Language-Hearing Association. Hearing Aid Care. https://www.asha.org/public/hearing/hearing-aid-care/
- Mayo Clinic. Hearing Aids: How to Choose the Right One. https://www.mayoclinic.org/hearing-aids/art-20044116
- U.S. Food and Drug Administration. Tips for Caring for Your Hearing Aid. https://www.fda.gov/consumers/consumer-updates/tips-caring-your-hearing-aid