Are you tired of struggling with subpar sound quality or frequent repairs on your hearing aids? The secret to optimal performance and longevity lies in proper cleaning and maintenance. In this blog post, we’ll uncover all the essential tools and techniques on how to clean a hearing aid, so you can enjoy crystal-clear audio without any hiccups.
Whether you’re a first-time hearing aid user or a seasoned veteran, this comprehensive guide will walk you through everything you need to know about cleaning and caring for your hearing aids. Say goodbye to frequent repairs and hello to a world of clear, uninterrupted sound!
Short Summary
- Essential tools for proper hearing aid maintenance include a wax removal brush, multi-tool and specialized cleaning agents.
- Step-by-step guide to clean different styles of hearing aids provided, including ITE and BTE models.
- Regular professional checkups recommended to prolong the lifespan of your device. Store in dry place with airtight container when not in use.
Hearing Aid Cleaning Essentials
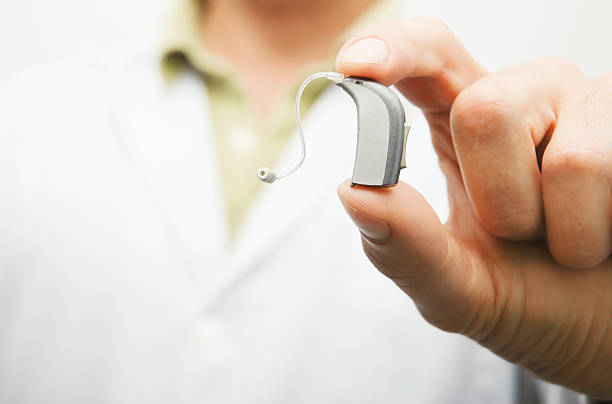
Before diving into the step-by-step cleaning process, it’s crucial to understand the essential tools for proper hearing aid maintenance. These tools are designed to help you clean your hearing aids safely and effectively, ensuring optimal performance and longevity.
Some of the most common tools you’ll need include a:
- wax removal brush
- hearing aid multi-tool
- specialized cleaning agents
You can find these tools online or at most drug stores, or even get them from your hearing healthcare provider. Let’s explore each of these tools in more detail.
Wax Removal Brush
A wax removal brush is a must-have tool for cleaning hearing aids. It is specifically designed to gently remove wax and debris from the surface of your devices. The brush typically consists of a soft bristle brush, a wax loop for removing hardened wax, and sometimes even a magnet for handling small hearing aid batteries.
To use the wax removal brush, delicately brush away wax and debris from your hearing aid’s surface. If you encounter hardened wax, use the wax loop to carefully remove it.
Be sure to store your wax removal brush in a dry environment, away from direct sunlight and moisture, to preserve its effectiveness.
Hearing Aid Multi-Tool
A hearing aid multi-tool is a versatile device that combines various instruments for cleaning and maintaining your hearing aids. This handy tool often includes a wire loop for wax removal and a magnet for easy battery replacement.
To use the hearing aid multi-tool, first ensure that your hearing aid is powered off. Then, employ the wire loop to eliminate any wax accumulation from the device. Finally, use the magnet to replace the battery if needed. With a multi-tool in your arsenal, you can tackle various cleaning tasks effortlessly.
Specialized Cleaning Agents
Specialized cleaning agents are cleaning products specifically formulated for particular purposes or materials, such as hard-surface cleaners, degreasers, and stain removers. For hearing aids, there are specialized cleaning agents available to ensure safe and effective cleaning.
To eliminate loose wax, hydrogen peroxide is an ideal cleaning agent. Remember to follow the instructions carefully and never use harsh chemicals or alcohol-based cleaners on your hearing aids, as they can damage the delicate components. It’s always best to consult your hearing healthcare professional if you’re unsure about the appropriate cleaning agents for your hearing aids.
When Were Hearing Aids Invented? The History of Hearing Aids
Ear trumpets, invented in 1634 and commercially produced by Frederick C. Rein in the 19th century, demonstrate an early appreciation for personalization of hearing aid technology.
The invention of electric hearing aids (Acouphone & Acousticon) revolutionized sound amplification devices while vacuum tube era enabled the invention of hearing aids. Miniaturization with Vactuphone.
Modern digital hearing aids are equipped with Bluetooth connectivity and smartphone integration to provide a personalized user experience. Learn more about when were hearing aids invented.
Step-by-Step Guide to Cleaning Different Hearing Aid Styles
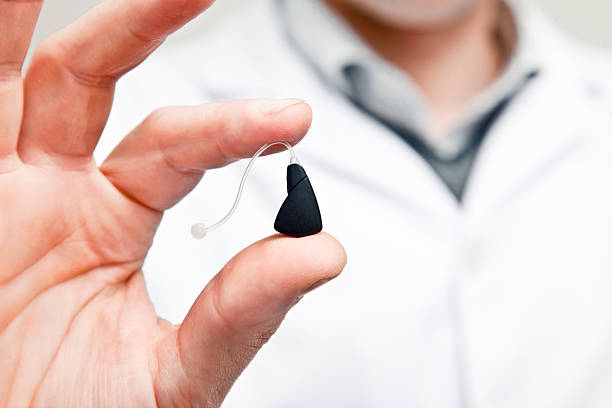
Now that we’ve covered the essential cleaning tools, it’s time to dive into the step-by-step cleaning process for different hearing aid styles. There are various styles of hearing aids, such as In-The-Ear (ITE) and Behind-The-Ear (BTE), each with its own cleaning requirements.
Regardless of the style, it’s important to clean your hearing aids daily or at least every other day to ensure optimal performance. Not only does regular cleaning help maintain your hearing aids, but it also prevents sound obstruction due to excessive earwax.
Let’s explore the cleaning process for ITE and BTE hearing aids.
Cleaning ITE Hearing Aids
ITE hearing aids fit entirely within the ear canal, making them somewhat more susceptible to wax and debris buildup. To clean ITE hearing aids, start by removing the wax guard with a wax pick or wire loop. This helps prevent sound obstruction caused by excessive earwax.
Next, use a soft, dry cloth to gently wipe the hearing aid’s surface. For wax removal, utilize a wax removal brush to carefully clean the device. Be sure to avoid using water, alcohol, or chemical wipes when cleaning ITE hearing aids, as they can cause damage to the delicate components.
Cleaning BTE Hearing Aids
BTE hearing aids, on the other hand, have a different cleaning process. These devices sit behind the ear and are connected to an armold that fits inside the ear canal. To clean BTE hearing aids, start by removing the electrode and tubing.
Wipe the hearing aid with a soft, dry cloth and use a wax removal brush to clean any wax or debris. For the hearing aid, wash it with warm water and soap, allowing it to dry completely before reattaching it to the hearing aid.
Remember not to use chemical cleaners on the arms unless they are specifically formulated for this purpose.
Caring for Rechargeable Hearing Aids
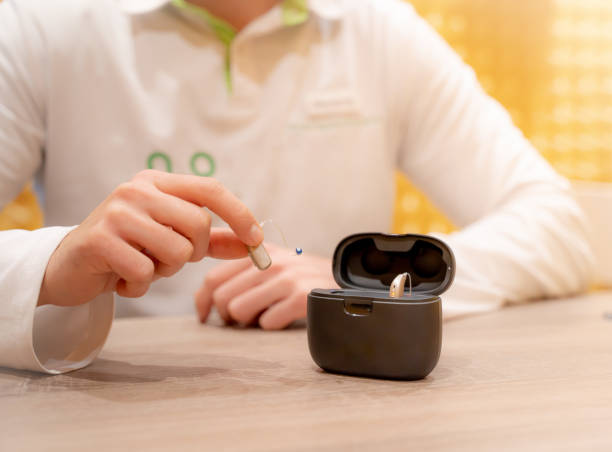
Rechargeable hearing aids require special care to ensure their longevity and optimal performance. Before inserting your hearing aids, use a clean and dry cloth to ensure your outer ear canal is dry. This helps prevent moisture from affecting the hearing aids.
Proper storage is also crucial for rechargeable hearing aids. Store them in a cool and dry environment when not in use. You can also use a hearing aid dryer or dehumidifier to remove unwanted moisture from within the hearing aids, prolonging their lifespan.
Tips for Prolonging Hearing Aid Lifespan

Proper care and maintenance play a critical role in prolonging the lifespan of your hearing aids. Think of it like this: would you buy a new car and never clean it or replace the oil? The same principle applies to your hearing aids. Regular cleaning and maintenance are essential for optimal performance and longevity.
By following the cleaning techniques and tips provided in this guide, you can effectively care for your hearing aids and prolong their lifespan. Additionally, it’s important to consult your hearing care professional for regular check-ups and thorough cleanings, as they have specialized tools and expertise to ensure your hearing aids are in the best possible condition.
Storing Hearing Aids in a Dry Place
Storing your hearing aids in a dry place is crucial for their longevity. Moisture can lead to corrosion of
- metal parts
- obstruction of ports and openings
- buildup in tubing
- potential short-circuiting of microphones and receivers
To properly store your hearing aids, consider using a hard-sided case with an airtight lid. This will help protect your devices from moisture and maintain their optimal performance.
Handling Hearing Aids with Care
Handling your hearing aids with care is equally important for ensuring their longevity and optimal performance. Always handle your devices with clean hands to prevent any dirt or debris from entering the delicate components.
By treating your hearing aids with care, you can minimize the need for frequent repairs and enjoy consistent, clear sound quality for years to come.
When to Consult a Hearing Healthcare Provider
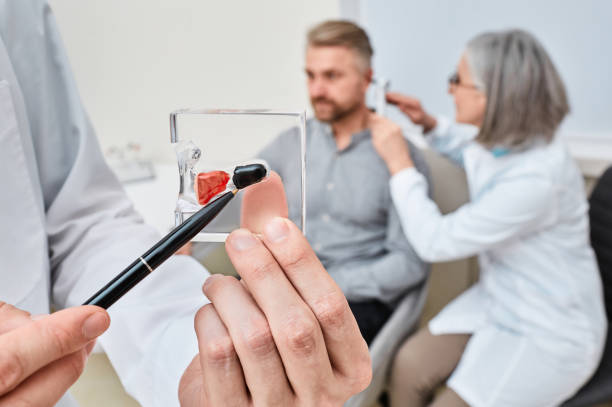
While regular cleaning and maintenance at home are essential, there are times when it’s necessary to consult a hearing healthcare provider for professional cleaning and care. If you’re unsure about the appropriate cleaning methods for your hearing aids or feel that they require additional attention, don’t hesitate to seek help from a professional.
Professional cleaning services have specialized vacuums and attachments designed to delicately remove wax from difficult areas, as well as expertise in safely cleaning vents, microphone screens, windscreens, and receivers. It’s advised to have your hearing aids professionally cleaned on a regular basis, as suggested by your hearing care provider.
Summary
In conclusion, proper cleaning and maintenance of your hearing aids are essential for ensuring optimal performance and longevity. By following the tips and techniques outlined in this comprehensive guide, you can effectively care for your devices and enjoy a world of clear, uninterrupted sound.
Remember, caring for your hearing aids is an ongoing process. Regular at-home cleaning, combined with professional check-ups and cleanings, will help you get the most out of your hearing aids for years to come. So why not start today and give your hearing aids the TLC they deserve?
Frequently Asked Questions
What do you clean hearing aid domes with?
For optimal cleaning and hygiene, the best way to clean hearing aid domes is by using a soft cloth dampened with mild soap and water. Avoid using alcohol or solvents to clean the domes as these can cause damage.
Additionally, take care not to push on the dome when cleaning.


